# Create an Angular library, share it with GitHub Packages, and use it in multiple Angular projects
日本語版: 日本語で読む
Table of Contents
Introduction
Multiple projects are created with Angular. I have a basic design system and would like to use it for each project, but I don’t want dual management for each project, so I was using submodule, but since the operation is cumbersome, I decided to move to GitHub Packages.
Write a memo to create a library with Angular and publish it with GitHub Package.
What is Angular library?
First of all, what is Library of Angular?
An Angular library is a package of reusable code such as components, services, and directives. These cannot be run on their own, but are imported and used in Angular applications.
That’s what he said.
What are GitHub Packages?
And what is GitHub Packages
GitHub Packages is a platform for hosting and managing software packages, including containers and other dependencies. A major feature is that source code management and package management can be unified on the same GitHub.
That’s what he said.
GitHub Packages usage scenarios
The usage scenarios for GitHub Packages are:
You can use npm or Docker to store private libraries and components that you want to share only within your organization. If you want to host it securely within GitHub instead of an external service like Hub.
By the way, it seems that the npm package can also be published privately.
However, since it seems to be paid, GitHub Packages seemed to be more useful in that it allows you to set it private for free, albeit with restrictions.
GitHub Packages limitations
The limit is
- Storage capacity: 500 MB
- Data transfer amount: 1 GB/month (monthly)
That’s what he said.
I don’t think there is any problem with sharing UI components in terms of usage.
Creating an Angular library
First, create a Angular UI library.
user@nameMacBook-Air filename % ng version
     _                      _                 ____ _     ___    / \   _ __   __ _ _   _| | __ _ _ __     / ___| |   |_ _|   / △ \ | '_ \ / _` | | | | |/ _` | '__|   | |   | |    | |  / ___ \| | | | (_| | |_| | | (_| | |      | |___| |___ | | /_/   \_\_| |_|\__, |\__,_|_|\__,_|_|       \____|_____|___|                |___/

Angular CLI: 19.2.19Node: 22.7.0Package Manager: npm 10.8.2OS: darwin arm64
Angular:...
Package                      Version------------------------------------------------------@angular-devkit/architect    0.1902.19 (cli-only)@angular-devkit/core         19.2.19 (cli-only)@angular-devkit/schematics   19.2.19 (cli-only)@schematics/angular          19.2.19 (cli-only)
The version and premise was like this.
Create a project
ng new angular-ui-component --no-create-applicationThis command creates a Angular box without creating the application itself.
Generate library
ng generate library ui-library --prefix=uiNext, create a library.
--prefix=uiBy writing , you can add a prefix like ui-button.
By executing this command, a projects/ui-library folder will be created.
We will create components below this src/lib.
Creating a component
For example, if you want to create a Button component,
ng g component buttonCREATE projects/ui-library/src/button/button.component.css (0 bytes)CREATE projects/ui-library/src/button/button.component.html (21 bytes)CREATE projects/ui-library/src/button/button.component.spec.ts (592 bytes)CREATE projects/ui-library/src/button/button.component.ts (213 bytes)Create a component with .
Registration to public-api.ts
Once created, register it in public-api.ts to define the element to be exposed externally.
export * from "./lib/button/button.component";Preparing to publish to GitHub Packages
Now that the library is ready, let’s prepare to use GitHub Packages.
Modifying package.json
Modify projects/ui-library/package.json.
{ "name": "@nove-b/angular-ui-component", "version": "0.0.1", "publishConfig": { "registry": "https://npm.pkg.github.com/" },}Include the Github account name in the package name.
Issuance of Personal Access Token
Next, issue Personal Access Token (Classic).
At this time, select write:packages (for package upload) in scope selection.
Check read:packages (for download) and generate.
.npmrc settings
Once Token is issued, create .npmrc in the root to make it public.
Use .ignore to enter confidential information.
npm login --scope=@nove-b/angular-ui-component --registry=https://npm.pkg.github.com# Username: nove-b# Password: ghp_xxxxxxxxxx(Personal Access Token (Classic))Building and publishing the library
Now that we are ready to publish, let’s build the library.
Building the library
angular-ui-component % ng build ui-libraryNow that the build file is created, publish it.
Publishing the library
cd dist/ui-librarynpm publishFor some reason it didn’t work, so I tried using the command.
user@NamenoMacBook-Air ui-library % npm login --scope=@nove-b --registry=https://npm.pkg.github.comnpm notice Log in on https://npm.pkg.github.com/Username: nove-bPassword: Personal Access Token (Classic)
Logged in to scope @nove-b on https://npm.pkg.github.com/.user@NamenoMacBook-Air ui-library %
Now that I’m logged in, I’ll publish it.
npm publish
...
npm notice Publishing to https://npm.pkg.github.com/ with tag latest and default access+ @nove-b/angular-ui-component@0.0.1
I was able to publish it successfully.
Using the library
Next, try using this.
First, we will create an application for Angular again, but we will omit that part.
So, I launched it.

Let this call the library from earlier.
.npmrc settings in your application
First, create .npmrc in the root.
@nove-b:registry=https://npm.pkg.github.com///npm.pkg.github.com/:_authToken=ghp_xxxxxxxxxx(Personal Access Token (Classic))Installing the library
Next install.
npm install @nove-b/angular-ui-component@0.0.1Importing and using components
Once the installation is complete, import it into the component file you want to use.
import { ButtonComponent } from '@nove-b/angular-ui-component';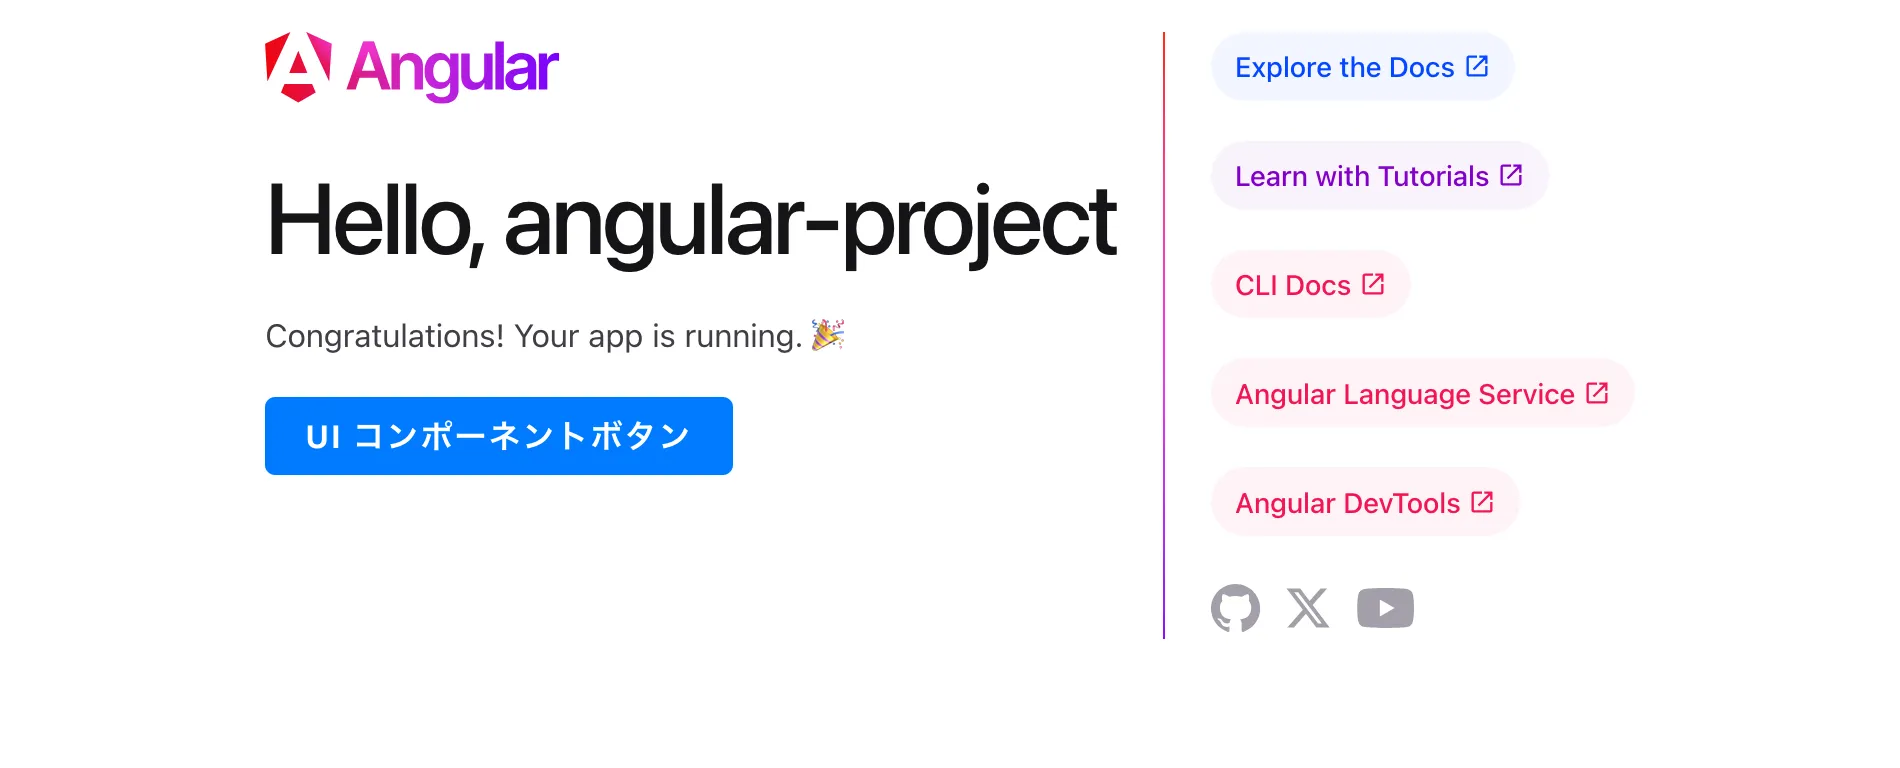
@Component({ selector: 'app-root', imports: [RouterOutlet, ButtonComponent], templateUrl: './app.component.html', styleUrl: './app.component.scss'})<div style="margin-top: 20px; margin-bottom: 20px;"> <ui-button [label]="'UI コンポーネントボタン'"></ui-button></div>I was able to confirm this on the screen.
Summary/Consideration
I wonder how Tokens will be used in the case of an organization. I’m currently working on my own, so I’m using my own Token, but I have some doubts about that, but it would be extremely versatile if I created a UI component for my internal system and made it possible to overwrite css.
Well, it’s a bit questionable whether to use Angular in an internal system, so it might be a good idea to at least have a mechanism like the Angular library for vue and react.
Or should I use vanilla js?
It would be nice if there was at least a mechanism like the
Angularlibrary forvueandreact.
It doesn’t seem to be built-in. It seems like it can be combined, so I’d like to try it next time.